
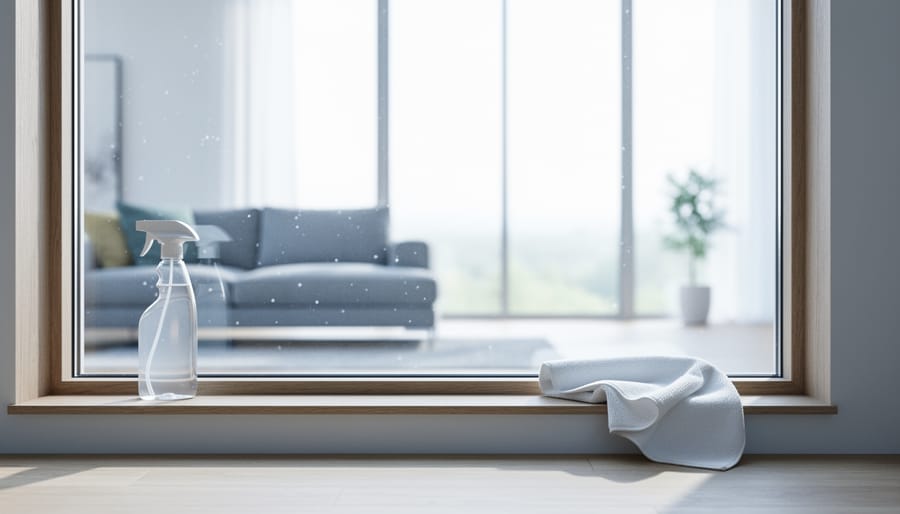
Clean windows can increase the natural light in your room by up to 30%, transforming dark, dreary spaces into bright, welcoming environments in just 30 to 45 minutes of work. The difference is immediate and dramatic. Dust, grime, and streaky film block sunlight more than you realize, and once removed with the right technique and streak-free solution, you’ll see every corner of your room brighten without changing a single bulb or adding new fixtures.
This simple maintenance task delivers one of the highest visual impacts in home improvement. Think of your windows as the gateway to natural light, the most flattering and energy-efficient illumination available. When that gateway is clouded over with months of buildup, you’re living in unnecessary dimness. Professional cleaners know this secret: pristine glass doesn’t just look better, it fundamentally changes how light moves through your space.
Beyond the cleaning itself, maximizing natural light works hand-in-hand with other design strategies. You might use oversized mirrors to reflect sunlight deeper into rooms, but those mirrors can only amplify the light that’s already entering through your windows. Start at the source. This guide walks you through the complete process, from gathering the right tools to achieving that professional, invisible-glass finish that floods your home with sunshine.
Why Clean Windows Make Rooms Brighter

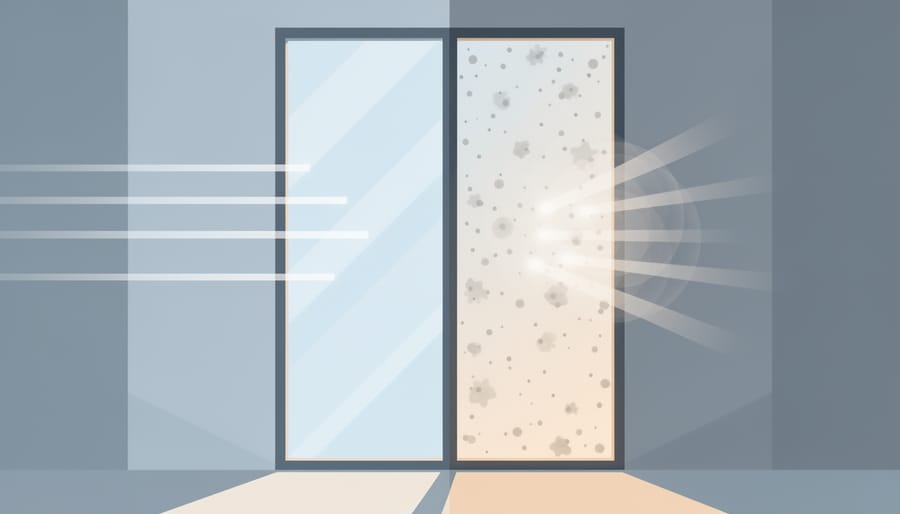
Clean glass transmits roughly 90 percent of available sunlight, but even a thin layer of grime can cut that dramatically. Dust particles, pollen residue, water spots, and environmental pollutants scatter incoming light rays instead of allowing them to pass straight through. This scattering effect creates a subtle haze that dims your room without you consciously noticing the gradual change.
Key Takeaway: Dirty windows can block up to 30 percent of natural light entering your room. Seasonal buildup compounds this effect, with winter grime and spring pollen creating the heaviest light-blocking layers that reduce both brightness and clarity.
The accumulation happens faster than most homeowners realize. Outdoor glass collects road dust, tree sap, bird droppings, and industrial fallout that bond to the surface, while indoor panes develop film from cooking vapors, skin oils from touch, and airborne dust. Each season adds its own challenges. Winter brings salt spray and condensation stains. Spring deposits pollen that sticks stubbornly to damp glass. Summer humidity causes dust to adhere more readily, and autumn leaves release tannins that streak windows during rain. For comprehensive guidance on addressing these issues, refer to https://www.mustanghygiene.co.uk/the-ultimate-guide-to-cleaning-windows-inside-and-out.
Picture a living room on an overcast morning. With dirty windows, the space feels gray and requires artificial lighting by midday. The same room after thorough cleaning appears noticeably brighter, even under identical cloud cover. Colors look more vibrant, shadows soften, and the space feels more welcoming. Professional cleaners who tackle neglected windows often see homeowners surprised at how much natural light their rooms actually receive once the accumulated barrier is removed. The transformation isn’t just about clean glass; it’s about reclaiming the design potential of your space through restored light transmission.
What You’ll Need: Tools and Materials for Streak-Free Windows
Achieving truly clean, streak-free windows starts with gathering the right supplies. You don’t need an expensive arsenal, a few key items will transform murky glass into crystal-clear panes that flood your room with light.
Essential Tools and Cleaning Solutions
Start with these core supplies for professional-quality results:
- Squeegee: A 10- to 14-inch squeegee with a sharp rubber blade removes solution cleanly without streaks
- Microfiber cloths: Lint-free cloths for wiping edges and buffing; keep several on hand
- Bucket: A standard 2-gallon bucket holds your cleaning solution
- Scrubber or sponge: A window scrubber or non-abrasive sponge applies solution evenly
- Cleaning solution: Mix a few drops of dish soap with warm water, or use a commercial glass cleaner
- White vinegar: A 50/50 vinegar-water mix tackles grime and costs pennies
- Spray bottle: For smaller windows or spot-cleaning between deep cleans
- Extension pole: Attaches to your squeegee for second-story windows without a ladder
- Ladder: A stable stepladder or extension ladder for exterior high windows
Budget-conscious cleaners will find that dish soap, vinegar, and basic microfiber cloths deliver excellent results for under ten dollars. If you’re cleaning regularly or tackling large windows, invest in a quality squeegee with replaceable blades, it pays for itself in time saved and streak-free clarity.
For professional-grade performance, consider a water-fed pole system that uses purified water to eliminate mineral deposits, or a magnetic window cleaner that handles both sides of the glass simultaneously. These tools shine when you’re maintaining multiple windows or working at challenging heights, though they’re overkill for occasional cleaning.
Safety First: Precautions Before You Start

Before you start washing your windows, assess what you’re working with. If you have upper-story windows, don’t assume you can just climb up and get the job done. Falls from ladders account for thousands of injuries each year, and reaching too far while perched on a step creates a real risk of tipping.
Choose a sturdy ladder rated for your weight plus your supplies, and position it on level ground. Wear shoes with rubber soles for grip, never slippers or socks. Keep your hips between the ladder rails; if you have to stretch your arm fully to reach a section, you’re leaning too far. Move the ladder instead.
Check the weather before you start exterior work. Wind can knock you off balance, and rain makes surfaces slippery. For cleaning solutions, read product labels carefully. Some ammonia-based or vinegar mixtures produce fumes that irritate your lungs in enclosed spaces, so crack a door or window for ventilation. Wear rubber gloves if you’re using commercial cleaners, and keep solutions away from children and pets. Mix chemicals only as directed; combining products can create dangerous reactions.
Step-by-Step Window Cleaning Process
Preparing Your Windows
Start by clearing everything from your window sills, plants, decorations, and curtains need to move at least three feet back. Dust and debris on sills become muddy streaks once your cleaning solution touches them, creating shadows that reduce light penetration through lower glass portions.
Remove window screens next. Screens can block up to 30% of incoming light even when clean, and you’ll need access to the entire glass surface. Set them aside for separate cleaning later; dirty screens reintroduce grime immediately after you’ve cleaned the glass.
Use a dry microfiber cloth or soft brush to sweep away loose dust, cobwebs, and debris from window frames, tracks, and mullions. This prevents dry dirt from turning into scratchy paste when wet, which can leave micro-abrasions that diffuse light. Pay special attention to top edges where dust accumulates, these particles wash down during cleaning and cause streaking.
This preparation creates a clean perimeter around your glass, ensuring your cleaning solution works only on the window surface itself, not on surrounding grime.
The Best Cleaning Technique for Maximum Clarity
The squeegee method delivers the clearest, most light-transmitting results because it removes cleaning solution in one continuous motion, eliminating the micro-streaks that cloths leave behind. Start at the top corner of the window and pull the squeegee across in a smooth, horizontal stroke, maintaining consistent pressure throughout. At the end of each pass, wipe the blade with a clean, lint-free cloth to prevent transferring dirt to the next stroke.
Overlap each subsequent stroke by about an inch, creating a slight cascade pattern down the window. The key is maintaining steady, moderate pressure, too light leaves solution behind, too heavy creates friction that causes streaking. Angle the squeegee slightly so the leading edge makes firm contact while the trailing edge lifts away from the glass.
For vertical windows taller than your arm span, work in sections rather than attempting one continuous pull. Speed matters less than consistency; a slow, controlled stroke beats a fast, jerky one every time.
If you prefer cloth cleaning, use a microfiber cloth dampened with solution rather than soaking wet. Work in small circular motions to loosen grime, then immediately follow with a dry microfiber in straight, overlapping strokes from top to bottom. Never let cleaning solution air-dry on glass, it leaves mineral deposits that scatter light.
The final step for either method: inspect the window from multiple angles in natural light. Streaks appear as cloudy lines that diffuse incoming light, most visible when viewed from the side.
Tackling Stubborn Spots and Hard Water Stains
Even perfectly cleaned windows can lose 15-20% of their light transmission when stubborn deposits cloud the glass. These persistent obstructions require targeted solutions beyond regular cleaning methods.
For hard water stains and mineral deposits, create a paste using equal parts white vinegar and baking soda. Apply directly to the affected areas, let sit for 10 minutes, then scrub gently with a non-abrasive sponge. Rinse thoroughly and squeegee dry. Commercial lime removers like CLR work faster on severe buildup but require careful handling.
Paint overspray responds best to a razor blade scraper held at a 45-degree angle against wet glass. Keep the window surface wet while scraping to prevent scratching, and work in one direction only.
Adhesive residue from stickers or tape dissolves with rubbing alcohol or commercial adhesive removers like Goo Gone. Apply with a cloth, let penetrate for two minutes, then wipe clean. Follow with your standard cleaning solution to remove any oily film.
For tree sap or insect residue, mineral spirits on a cotton pad lifts the obstruction without damaging glass or frames.
Finishing Touches for Optimal Light
After your main cleaning pass, inspect the glass from different angles to catch any missed streaks or water spots that will scatter incoming light. Use a clean, dry microfiber cloth to buff the entire surface in circular motions, then finish with straight vertical strokes for uniform clarity.
Don’t neglect the edges where glass meets frame, residual moisture here creates shadows and attracts dust quickly. Run a folded microfiber cloth along all four edges, pressing gently into corners. Wipe down the window sills and frames with a damp cloth to remove cleaning solution residue that might drip back onto your pristine glass.
For true light optimization, step back and view your window from the room’s primary seating or work area. This reveals any remaining haze invisible from close up but noticeable once sunlight streams through at low angles.
Testing Your Results: How to Verify Maximum Light
After completing your cleaning process, it’s time to confirm you’ve achieved maximum light transmission. Start with a simple visual inspection: stand inside the room and look directly through the glass at different angles. A properly cleaned window should be nearly invisible, with no visible streaks, haze, or film disrupting your view. Check the edges and corners where cleaner often pools and dries, leaving telltale marks that scatter incoming light.
The most reliable test is comparing room brightness before and after. Notice how far natural light reaches into the space now versus earlier. If you place a floor-length mirror opposite the window, it will reflect and amplify the increased brightness, making improvements even more apparent. Walk through the room at different times of day to observe how light behaves across various surfaces.
Run your hand lightly across the glass, it should feel smooth and squeak-free, not tacky or textured. Stand outside and look at the window from various angles; missed spots often reveal themselves as dull patches when viewed from different positions. If you notice lingering haze, dimmed light penetration, or persistent streaks, address those specific areas immediately while your supplies are still accessible rather than waiting for the next cleaning session.
Maintaining Clean Windows Year-Round
Clean windows stay brighter with a consistent maintenance schedule rather than sporadic deep cleans. For optimal light transmission throughout 2026, plan full exterior and interior cleaning quarterly, spring, mid-summer, fall, and late winter. Homes near busy roads, under tree cover, or in coastal areas may need monthly attention to combat dust, pollen, salt spray, and environmental debris that accumulate faster.
Between deep cleans, maintain clarity with quick weekly wipes. Keep a spray bottle of glass cleaner and microfiber cloth accessible. A five-minute pass over interior glass removes fingerprints, pet nose marks, and dust before they build into light-blocking film. Exterior spot-cleaning after rain prevents water spots from etching into the glass and creating permanent haze.
Seasonal adjustments preserve window clarity. Spring demands extra attention to remove pollen and winter grime. Summer brings insect debris and irrigation overspray. Fall means leaf residue and preparing for winter storms. Winter focuses on interior condensation that breeds mildew and exterior ice damage prevention.
Preventive measures extend time between cleanings. Install quality weatherstripping to reduce dust infiltration. Trim vegetation at least two feet from windows to minimize sap, pollen, and moisture contact. Choose curtains that maximize light while protecting glass from interior dust and cooking grease. Position furniture and plants away from windows to improve air circulation and reduce condensation.
Common Window Cleaning Questions
How often should I clean my windows to maintain maximum natural light?
For optimal light transmission, clean your windows every three to four months, with exterior surfaces needing attention more frequently in urban or dusty environments. High-traffic rooms and south-facing windows benefit from monthly quick-cleans to prevent gradual light reduction.
What’s the best weather for washing windows?
Tackle window cleaning on overcast days between 60-75°F when the glass stays cooler and solutions don’t evaporate too quickly. Avoid direct sunlight, which causes rapid drying and stubborn streaks that scatter incoming light.
Is newspaper actually better than microfiber cloths?
Microfiber wins for light clarity. While newspaper worked reasonably well decades ago, modern printing inks can leave residue, and microfiber’s lint-free texture delivers genuinely streak-free results that maximize light penetration.
Can I use eco-friendly cleaners without sacrificing brightness?
Absolutely. A solution of white vinegar and water (1:1 ratio) cuts through grime effectively, and adding a drop of plant-based dish soap handles greasier films without leaving the dulling residue some commercial cleaners deposit.
If you’re dealing with persistent haze after cleaning, the culprit is usually leftover product or hard water minerals rather than technique. Re-clean with plain distilled water and a fresh microfiber cloth, working in small sections. For windows with tinting film, skip ammonia-based products entirely since they degrade the film and reduce both its function and light quality. When moisture appears between double-pane windows, the seal has failed and no amount of exterior cleaning will help; you’ll need professional reglazing to restore clarity. These situations remind us that sometimes the obstacle to brighter rooms isn’t dirty glass but underlying window conditions worth addressing.